Print


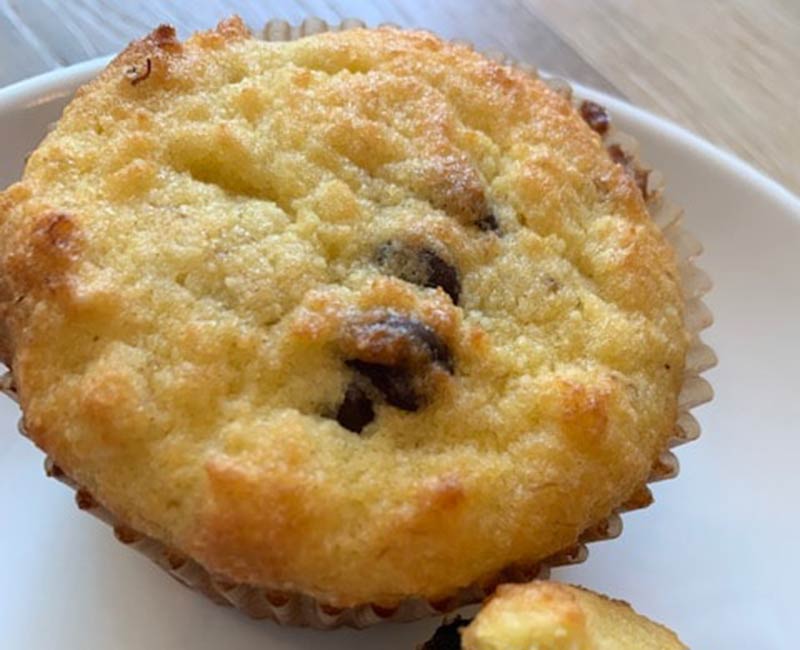
Short Bread Keto Cookies
- Yield: 1 1x
Description
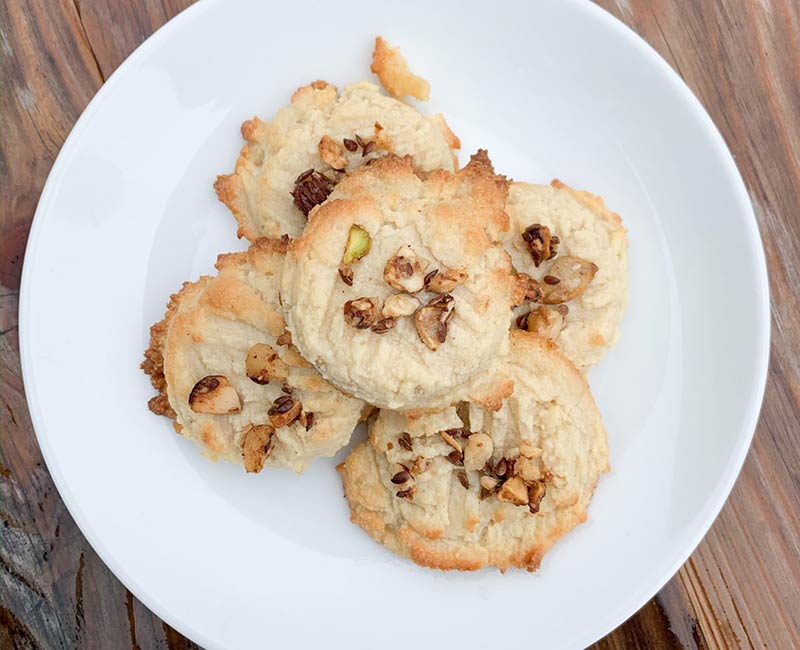
Craving something sweet on Keto? These are REALLY simple and tasty! Seriously 4-6 ingredients is all. This recipe only makes a tiny batch of low carb cookies (8-12), so if you are wanting a bigger batch, double up for sure!
The nuts here are optional. I actually used some of my previously made keto granola on top since it had a mix of pecans, pistachios and almonds. You can also add cinnamon, but again, totally optional!
These keto cookies would be great for a gathering like a potluck with keto and non-keto people alike!
Ingredients
Scale
- 1 cup Almond Flour
- ¼ cup Confectioners Erythritol/Monk Fruit
- 3 tbsp Butter, softened (I like Kerrygold)
- 1 tsp Vanilla
- Crushed nuts, amount desired (optional)
- 1 pinch Cinnamon (optional)
Instructions
- Preheat oven to 350F and prepare cookie sheet with parchment paper.
- Combine all the ingredients well until a soft dough is formed (nuts can be added in or sprinkled on top if you’re using them.
- Roll into small balls (I used a small cookie dough scoop) and drop evenly onto cookie sheet.
- Press criss crosses into each cookie with a fork then bake at 350F for 10 minutes.
- Enjoy!!


Recent Comments