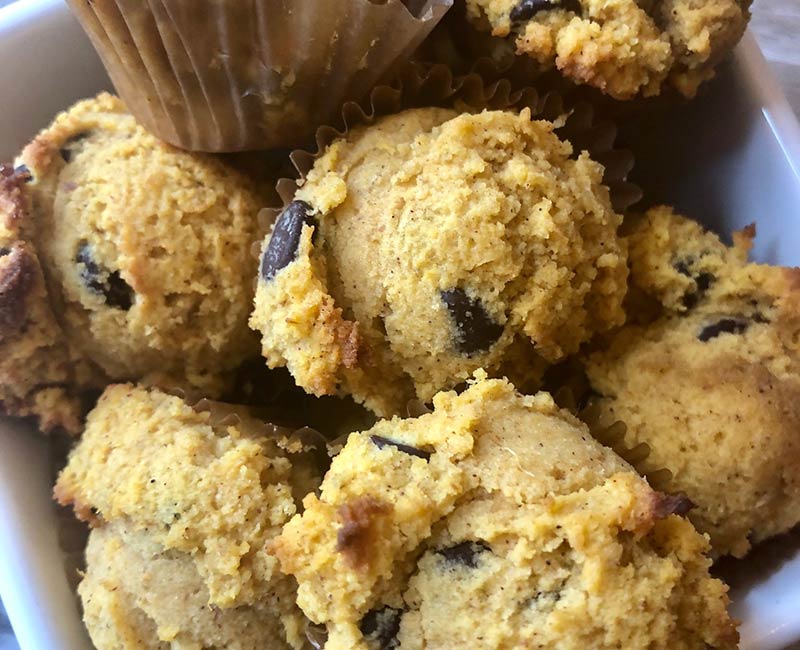
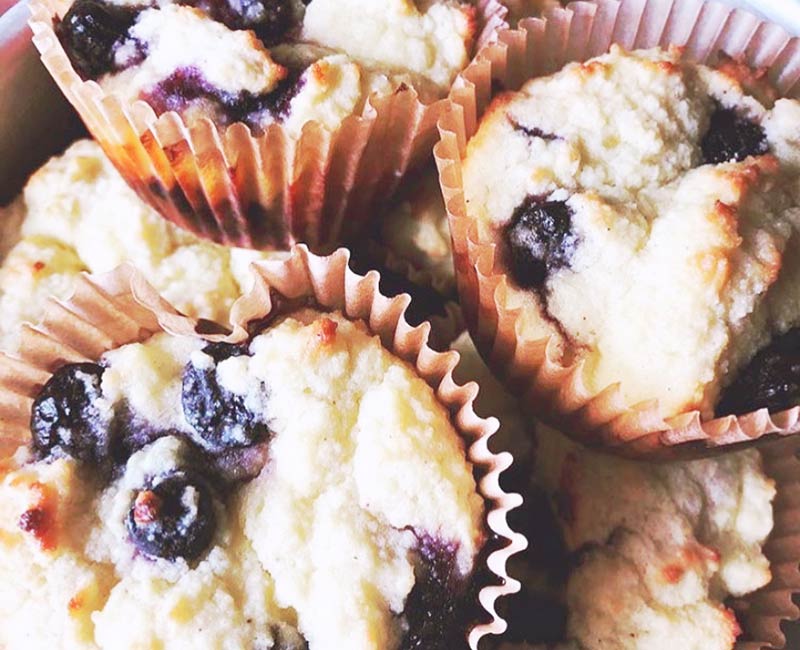
Pumpkin Muffins (Paleo/Keto/Non Dairy)
Description
Hello pumpkin season!! Not going to lie, I do love it! This time of year in the Willamette Valley, OR is one I get so excited for. The crispness in the air, the changing colors on the trees, cool mornings, sweater weather, all things pumpkin and I do love back to school. Really…getting back into routine is something I crave after summer break! These little treats are perfect for a mini breakfast along with your coffee, tea, Matcha latte…whatever your hearts desire! They also make for a great anytime snack or something to bring to a gathering. AND they are dairy free, gluten free, Paleo or Keto friendly (depending on the sweetener you use). You can easily double the recipe and stick a bunch of these little guys in the freezer for those busy days! And this is something you can feel really great about adding to your kiddos lunch box as well. Enjoy!!
ENJOY!
These are super yummy heated up with a little butter or nut butter on them <3
Recipe adapted from goldenbarrel.com
Ingredients
- ¾ cup Canned Pumpkin (unsweetened, NOT pumpkin pie filling!)
- 2 Eggs
- ½ cup Pure Maple Syrup (for Keto use a keto friendly sweetener of choice such as organic erythritol or stevia. Adjust amount if needed. I used 1/2 cup erythritol and it was perfect)
- 2 cups Almond Flour
- ¼ cup Coconut Flour
- 1 tsp Baking Soda
- 1 tsp Cinnamon
- 1.50 tsp Pumpkin Pie Spice
- ½ tsp Salt
- 1 tsp Vanilla Extract
- ¼ cup Coconut Oil
- ½ cup Chocolate Chips (I use Lily’s brand: dairy free & sweetened with Stevia)
Instructions
- Preheat oven to 350F & line a muffin tin with liners (I made mini muffins and they make such a great snack!).
- In a large bowl, combine almond & coconut flours, baking soda, cinnamon, pumpkin spice & salt. Stir well.
- Add in pumpkin, eggs, maple syrup (or Keto friendly sweetener), coconut oil, vanilla and combine well.
- Fold in chocolate chips.
- Scoop batter into lined muffin tin (I use a cookie dough scoop for this), evenly distributing.
- Bake 20-30 minutes, until a toothpick inserted into the center comes out clean.
Nutrition
- Serving Size: 1
Recent Comments