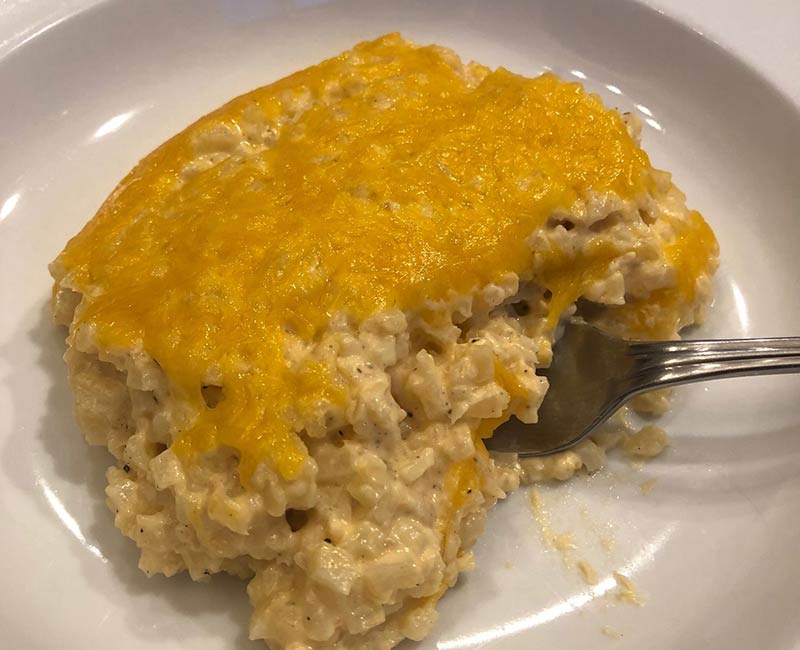
I have seen these cauliflower Mac and Cheese recipes using diced florets, but the first time I made it I had riced cauliflower on hand, so that’s what I used and it was so great (and easy) that it’s just how I make the recipe now!
This is the ultimate KETO comfort food!! Do be mindful and keep your serving size small because, although the carbs from cauliflower are nutrient dense, there are a lot of them if you are trying to keep your carbs fairly low. The good news is, there is also a fair amount of fiber in cauliflower, so it does help counteract the blood sugar/insulin reaction (which ultimately is why we are keeping the carbs low!!). So don’t avoid something like this altogether because you are afraid of the carbs (you’ll truly be missing out!); but again, keep the serving size limited.
If you have people in your fam who are NOT Keto, give this a try! I would bet they will love it too!!
A note on dairy: I don’t do dairy all the time because I notice if I have too much I have more symptoms of inflammation. However, in order to help support my hormones, when I do have dairy, I do my best to use hormone free!
This recipe was adapted from www.dontsweattherecipe.com
Ingredients
Scale
1 Large head of cauliflower, cut in to small pieces (or use a food processer and make “riced” cauliflower!)
1 cup Heavy Whipping Cream (hormone free)
2 oz Cream Cheese (hormone free if you can find it)
2 tsp Dijon mustard
2 cups Shredded cheddar, divided (1.5 cups mixed in and 1/2 cup on top)
¼ tsp Ground Black Pepper
⅛ tsp Garlic Powder
½ tsp Sea Salt or Pink Himalayan Salt
Instructions
Preheat oven to 375F. Grease a 8×8 casserole dish with grass fed butter or coconut oil.
Prepare your cauliflower pieces (or riced cauliflower) by steaming it until just getting tender. Transfer it to the prepared casserole dish and set aside.
Bring the cream to a simmer in a small saucepan. Whisk the cream cheese and dijon mustard in until all is combined and smooth.
Stir in 1.5 cups of the cheddar cheese, salt, pepper and garlic powder; whisk until the cheese melts (1-2 minutes). Add more salt and pepper as needed.
Remove from heat, pour the cheese mixture over the cauliflower and stir to combine.
Top the cauliflower “mac” and cheese with the remaining 1/2 cup of cheddar cheese and bake until starting to brown and bubble (around 15 minutes).
Let sit for about 5 minutes and then serve. Enjoy!
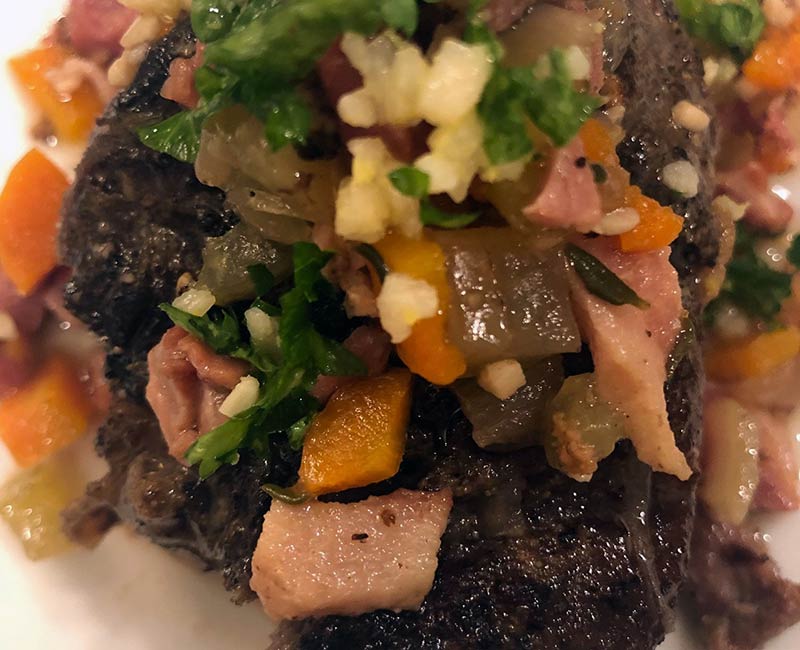
I am typically pretty simple with my recipes because I don’t like complicated! But, with our grass fed beef business, I like to try all the different cuts and play with recipes. This was my first time with Osso Bucco, which is an Italian dish that is braised most often beef stock and a red wine. It is typically made from a veal shank, although the cut we offer is from beef shanks (you could also use thick-cut short ribs as an alternative).
The flavor really was amazing! I LOVE the Gremolata that goes on top!!
Recipe adapted from simplerecipes.
Ingredients
Scale
¼ lb Pancetta, diced
3 lbs Osso Bucco
½ cup Carrots, diced
½ cup Celery, diced
1 Onion, medium, diced
2 tbsp Garlic cloves, chopped
3 Thyme, 3-4 sprigs fresh or 1 tsp, dried
1 cup Dry white wine
2 cups Chicken Stock
Flour for dusting the meat, I used almond flour to keep it gluten free
Salt and Pepper as desired
Gremolata
2 tbsp Italian Parsley, minced
1 tbsp Lemon Zest
2 Garlic Cloves, crushed and minced
Instructions
Preheat oven to 325°F
Brown the pancetta: Heat a dutch oven on the stove top over medium heat for about five minutes. Add pancetta to pan, cook, stirring occasionally.
When the pancetta is crispy and most of the fat has rendered (about 5 minutes of cooking), remove the pancetta to a plate covered with some paper towel and set aside.
If necessary, drain off all but two tablespoons of the fat from the pan.
Cover the shanks in flour, brown in pan: Season the shank well with salt and pepper. Shake off any excess flour, and add the meat to the hot fat in the pan.
Increase the heat to medium high and cook the meat on each side until well browned (about 5 minutes per side). Remove the meat to a plate, set aside.
Sauté onions, carrots, celery: Add the onions, carrots, and celery to the dutch oven. Cook the onion mixture, stirring frequently, until the onions are translucent (about five minutes) and toss in the garlic and thyme.
Continue cooking until the vegetables just begin to brown (about 10 minutes).
Return shanks to pan, add wine and stock: Add the shanks and the pancetta back to the pan. Pour in the wine, and then add enough stock to come a little more than half way up the side of the shanks.
Bring to a simmer. Cover the pan and put it in the oven to cook until the meat is tender, about an hour to an hour and a half.
Make gremolata: Combine the gremolata ingredients, place in a separate small serving dish. Sprinkle with gremolata.
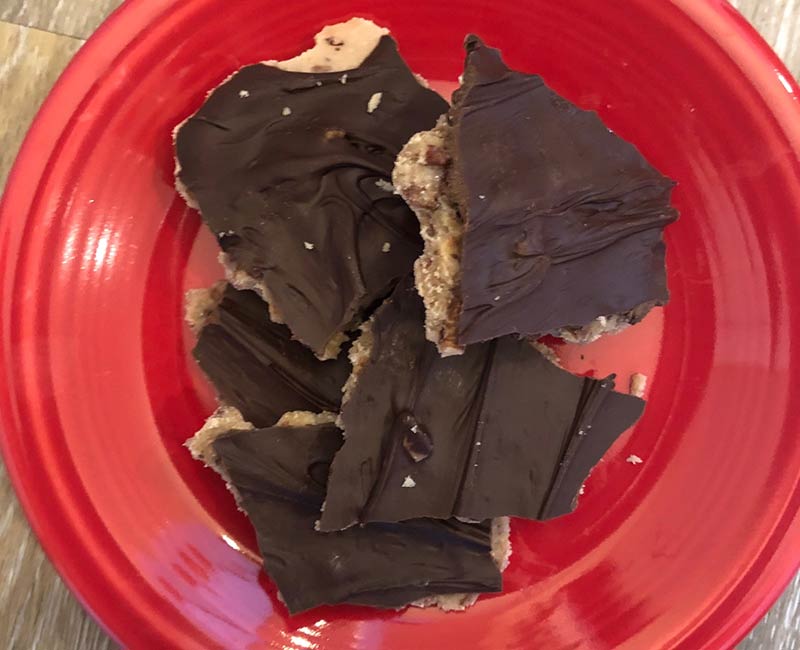
This stuff is ADDICTING. Consider yourselves warned!! Everyone, even non-keto people, love it! If you want to make sure it doesn’t disappear the second you make it, you might want to store some in the freezer!!
Have you ever had Lily’s chocolate?? It is a favorite treat of mine. It is sweetened with stevia and a really great option if you are keto, paleo or low carb. Their bars are delicious and they have tons of wonderful flavors! I love their chocolate chips as well, which is what I used for this recipe. I find them at Market of Choice, Natural Grocers and Whole Foods.
Ingredients
Scale
5 tbsp Butter
1 cup Pecans, chopped
½ cup Erythritol (look for GMO free)
5 tbsp Heavy Whipping Cream
½ tsp Vanilla Extract
¼ tsp Salt
6 oz Lily’s Chocolate (sweetened with stevia)
Instructions
Line a small baking sheet with parchment paper and grease it with butter or coconut oil.
Chop pecans and set aside.
Melt butter in a small saucepan over medium heat. Add chopped pecans and cook for about 5 minutes, until they are lightly toasted.
Mix in the heavy whipping cream, vanilla, salt and erythritol. Cook until thick and golden. Stir continuously and make sure to not over cook! It should take 5-8 minutes.
Pour pecan mix on the prepared baking sheet and spread evenly. Refrigerate until firm (about 30 minutes).
Melt the lily’s chocolate either in 30 second increments in the microwave or over the stove. Pour the chocolate over the toffee and spread evenly. Put the pan in the freezer and let set (another 30 minutes).
Break the sheet of Pecan Toffee up into about 24 pieces (they don’t have to be even, which makes them look kind of cool). Store in a covered container in the fridge or freezer.
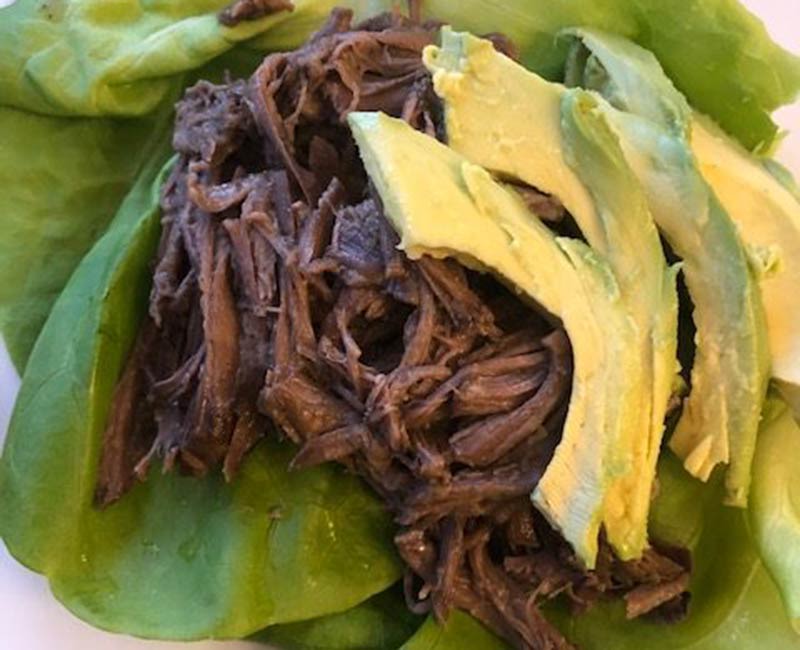
The flavor in this roast is ridiculous. We are in LOVE with this! You really can’t get much easier than this, either. We used a roast from our own grass fed beef (my husband and I have a grass fed beef business in the Willamette Valley in Oregon).
Although I have been big into using the crockpot this Fall, this recipe would be perfect any time of year. It shredded basically on it’s own when it was done and I put a big scoop in the middle of a butter lettuce leaf (love that stuff!). It makes for amazing taco meat! It would also be great along side mashed potatoes or cauliflower mash (if you’ve not tried that I encourage you to do so especially if you are following a ketogenic protocol).
If you are interested in grass fed and finished beef that you can order online and it will shipped to your door, please head over to www.oregonvalleyfarm.com!
Ingredients
Scale
4 lbs Chuck Roast (grass fed & finished!)
2 tbsp Olive oil
Salt & Pepper, to taste
1 Packet ranch dressing mix
1 Packet dry onion soup mix
1 stick Butter (grass fed such as Kerrygold)
8 Pepperonchini peppers, chopped and keep the juice!
Instructions
Place roast in crock pot. Sprinkle the packets of ranch and onion soup mix over the raost. Top with the stick of butter, chopped pepperoncinis and pour the juice over the roast as well.
Cover and cook on low for 8 hours (or on low for 2 hours and high for about 4 hours to speed up the process a bit but still have a delicious roast!). The meat will make it’s own juices along with the butter and juice from the peperoncinis.
Once the roast is done, use two forks to shred the meat (this should be so easy, the meat will just fall apart for you). Either discard the pepperoncinis or mix them in with the shredded beef.
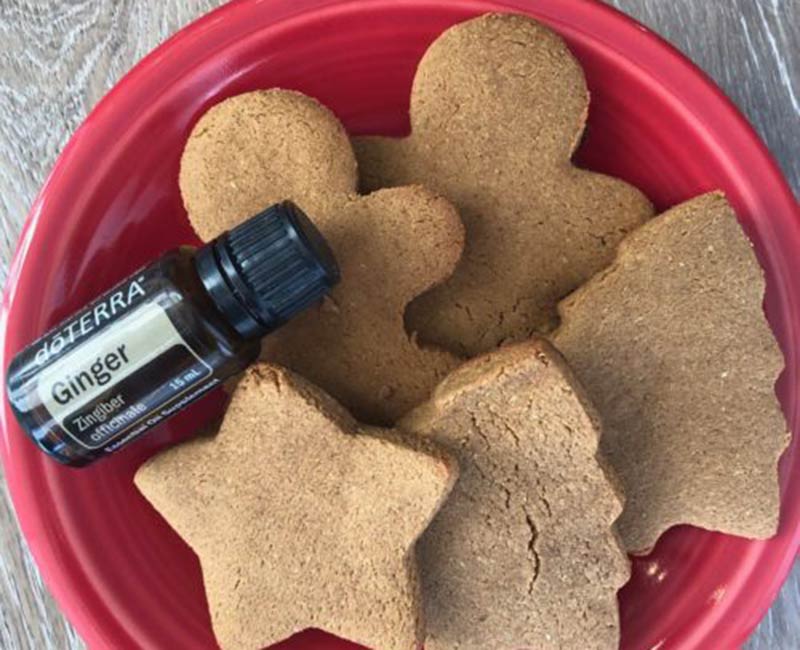
To me, part of having a well rounded Christmas season is including some soft, homemade gingerbread cookies! These are paleo but could easily be made keto by swapping out the coconut sugar for a keto friendly sweetener of choice.
This year, instead of ground ginger, I grabbed a bottle of my doTERRA Ginger essential oil and used 2 drops. The flavor is amazing! A little side note: I LOVE how versatile these oils are and that they are CPTG (certified pure therapeutic grade) which means they are safe to ingest and they do not contain fillers or metals and other toxins. I use my little bottle of ginger for tummy upsets, to diffuse in holiday blends that I create and in recipes like this!
Ingredients
Scale
½ cup Butter (or coconut oil), melted
½ cup Coconut sugar (or keto friendly sweetener of choice)
3 tbsp Molasses
2 Eggs, room temp
1 tsp Vanilla
2 cups Almond flour
¾ cup Coconut flour
½ tsp Baking soda
2 tsp Ground ginger (I used 2 drops of my doTERRA essential oil)
1 tsp Cinnamon
1 tsp Allspice
½ tsp Salt
Instructions
Preheat oven to 350F and line a cookie sheet with parchment paper.
In a large bowl, mix together the butter (or coconut oil), coconut sugar, molasses, eggs and vanilla. Combine well.
Add in remaining ingredients and mix well.
Place dough on counter between two pieces of parchment paper. Roll dough out evenly until about 1/4 inch thick.
Use cookie cutters to cut out desired shapes and place on cookie sheet lined with parchment paper with about a 1/2 inch between cookies so they don’t bake together.
Bake 8-10 minutes and let cool about 5 minutes before transferring from the baking sheet. ENJOY!
First of all it is important to understand what essential oils are:
Plants contain compounds that hide within the roots, flowers, seeds, bark, or other areas of the plant, known as essential oils. They are highly concentrated, making them extremely potent. Also referred to as volatile aromatic compounds, essential oils give a plant its aroma, protect it from harsh environmental conditions and insects, and even play a part in plant pollination. Volatility refers to a substance’s ability to change its state quickly. The chemical makeup of volatile aromatic compounds in essential oils allow them to disperse quickly through the air. This is why you can instantly smell the potent aroma of an essential oil from the moment you open the bottle—even from a distance.
There are over 3,000 types of volatile aromatic compounds that have been discovered so far. Because of unique chemical makeup, each essential oil will vary from species to species, and even from plant to plant.
The volatile compounds interact directly with the brain’s olfactory sensors which is connected to the limbic system which helps control numerous emotional, voluntary, endocrine and visceral responses to our environments that we all experience daily.
So, what does all of this have to do with hormones?
1) Because the compounds within the essential oils affect our limbic system, they can be used to balance our emotions which can be driven by our hormones but also, in turn, impact our hormones!
You can diffuse lavender to reduce stress, melaleuca to cleanse the air, wild orange to improve your overall mood, frankincense for a feeling of groundedness, and peppermint essential oil to improve focus and energy, just to name a few.
If anxiety is something you specifically deal with, the essential oils with the most research showing their anti-anxiety benefits are lavender, frankincense, bergamot, vetiver, orange, lemon, ylang ylang, chamomile, and rose. Copaiba is one I would absolutely recommend as well. Please go here to read my article on natural remedies for anxiety and learn more about how Copaiba can aid with this.
2) My second favorite way to use essential oils to help balance my hormones is actually by replacing harmful synthetic chemicals that we are exposed to regularly with these non-toxic, healthful instead of harmful substances!
According to Lara Adler, environmental toxin expert, “in the United States, there are about 84,000 chemicals that are registered for use in this country. Not all of them are actively being used but that’s how many are registered. And, the vast majority of those chemicals have never been adequately tested for safety.”
Just part of what these toxins do is to disrupt our hormones. Many are xenoestrogens which create estrogenic effects on a living organism even though they differ chemically from the estrogenic substances produced internally by the endocrine system of any organism. They are imposters and can drive hormone imbalance in a powerful way (in both men and women and even children)!
3) Our bodies are beautifully designed with their own natural detox system. However, in our modern day culture, we inundate our systems with toxins so much that they often cannot keep up with the jobs they were so perfectly created to do. Then we end up with inflammation, hormone disruption, mood disorders, autoimmune conditions, etc.
Essential oils can be used to support the detox system by helping to NOT overwhelm our detox pathways with toxins. In other words: AVOID EXPOSURE!
Here are the top 5 things you can start doing NOW to avoid toxin exposure, according to Lara Adler:
Eat organic
Avoid synthetic FRAGRANCES
Eliminate plastic in the kitchen
Reduce canned food
Choose safer skincare
I personally have started really familiarizing myself with ingredients in order to know what to avoid. Two of my favorite free apps you can download on your phone that do the work for you are the Think Dirty app and the EWG app. They make it so easy because you just scan a product in your cupboard or at the store and they break down ingredients and how/why they are rated the way they are. They also offer better products as suggestions!
I used to burn lots of yummy smelling candles and use those popular wax melts All. The. Time. I love using my dōTERRA essential oils instead and being confident that I am not only avoiding toxins, but I am putting things on and in my body and my family’s bodies that have so many amazing health benefits!
I also have traded out my toxic laden cosmetics for Crunchi makeup that is TOXIN FREE and works so darn beautifully! That is a thing for me…it has to work!! We all know there are plenty of more natural products out there that just don’t cut it. I will not settle and it’s awesome that we don’t have to nowadays with so many companies listening to us consumers and producing things that are far healthier! WE VOTE WITH OUR DOLLAR!!!
Please reach out if you need some guidance with these choices in your home! I am happy to help!
4) Lastly here are some of my favorite essential oils that specifically target hormone health:
Frankincense: one of the best essential oils for thyroid and adrenal function and autoimmune issues as it helps reduce inflammation and lower cortisol levels.
Lavender & Chamomile oil are effective at reducing stress, which in turn naturally lowers cortisol levels.
Rose oil has been shown to help in improving serotonin and other neuropeptides in the brain.
Rosemary essential oil supports the removal of excess estrogen from our body (back to those xenoestrogens I mentioned above!).
Clary Sage is power packed and might be my favorite for hormone balancing. It has the ability to reduce cortisol levels by 36% and improve thyroid levels. It is also said to have an anti-depressant effect as it can lower cortisol levels and improve mood. Clary Sage Oil also balances the estrogen in our body by helping to distribute the hormone evenly.
Bergamot is another great anti-anxiety, anti-depressant, mood boosting go to!
ClaryCalm is a powerful blend from doTERRA that is made up of a proprietary blend of Clary Sage, Lavender, Bergamot, Roman Chamomile, Cedarwood, Ylang Ylang, Geranium, Fennel, Carrot Seed, Palmarosa, and Vitex. I call it the “all the things” hormone blend! It also smells amazing <3 This is in a roller bottle for easy use and I actually keep one in my purse!
Let me leave you with a reminder that reducing exposure to toxins must be TOP priority for hormone balance! It really is crucial to do what you can to allow your body to do what it is designed to do!
If you are unsure of where your hormones are at but know that they are out of whack and you need some assistance navigating through the confusion; please feel free to book a free consultation with me. A large part of the problem is that we rely on conventional approaches to medicine for help and most often we are led down roads that make the problem worse or at the very least just don’t help at all. I would love to help you get to the actual ROOT of the problem and help turn things around!
One last thing, if you feel you need to take detox a step further, I would highly recommend you consider dōTERRA’s Cleanse & Restore program. This is a 30 day protocol that is designed to “plow the fields” so to speak, of your gut microbiome and then restore balance with beneficial bacteria. It also offers supplements that support your body’s health at a cellular level by introducing micronutrients that are bioavailable (your body absorbs them well) and boosting your essential nutrient levels. It is also designed to reduce oxidative stress and powerfully support our natural detox pathways!
This can be done individually or you can join the upcoming group I have which is held in a private FB group. The group is free which the purchase of a kit and you will benefit from guidance, education and support for the full 30 days! Please jump on the phone with me if you are interested so I can help you determine if this is the right route for you at this time.
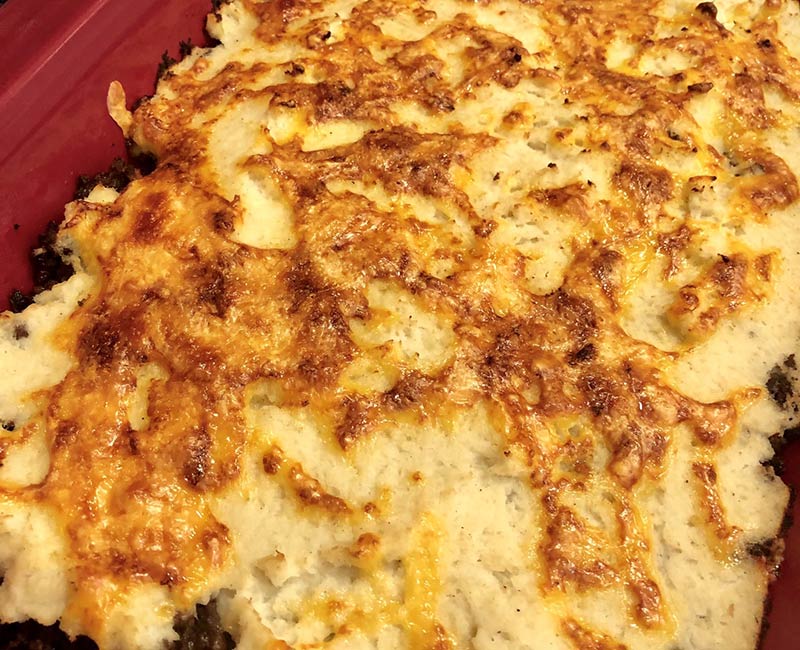
This is (low carb) comfort food at it’s finest! If you have not yet delved into the world of cauliflower instead of potatoes; I highly encourage you to do so! I was hesitant. I’ve historically been the person who would rather just have the real thing. This, though, will not leave you disappointed!
Some people use lamb in Shepard’s Pie and you can absolutely substitute some or all of the ground beef in this recipe with lamb. I prefer beef so that’s what I used.
Also, the only dairy (aside from the butter in the cauliflower which can be replaced with Ghee) is the cheddar cheese on top. You can easily omit this for a dairy free option and it would still be delicious, OR use a dairy free cheese!
Ingredients
Scale
Beef Layer
2 lbs Ground Beef (grass fed)
½ cup Onion, chopped
1 tsp Salt
½ tsp Ground Pepper
1 Garlic Clove, minced
½ cup Dry Red Wine
1 tsp Arrowroot Starch (or Corn Starch)
2 tbsp Fresh Rosemary, chopped
Topping
1.50 lbs Cauliflower Florets (you can make this easy on yourself and by riced cauliflower)
2 Garlic Cloves, minced
2 tbsp Butter
½ tsp Salt
¼ tsp Pepper
4 oz Cheddar Cheese, grated
Instructions
Meat Layer
In a large skillet over medium heat, brown the meat. Remove the meat from the pan and set aside. Drain most of the fat from the pan (leave enough to saute the onion!).
Return pan to heat and add onion, salt and pepper. Cook until onion is translucent (about 5 minutes). Add garlic and cook about 1 minute.
Put met back in pan with onion and garlic. Stir in arrowroot starch and wine. Cook until wine is mostly evaporated and juices start to thicken. Add chopped rosemary, stir well and remove from heat. Transfer to a 2 quart casserole dish.
Topping
Preheat oven to 400F.
Either use COOKED “riced cauliflower” or:
Steam the cauliflower florets until they are very tender.
Drain the riced cauliflower or cauliflower florets and place in blender or food processor. Add garlic, butter, salt and pepper. Blend until smooth.
Spread the cauliflower mixture over the meat layer and sprinkle with cheese. Bake 20-25 minutes until meat layer is bubbling and cheese is melted.
Turn broiler on high and broil 3-4 minutes to brown cheese. Remove and let sit for a few minutes before serving.
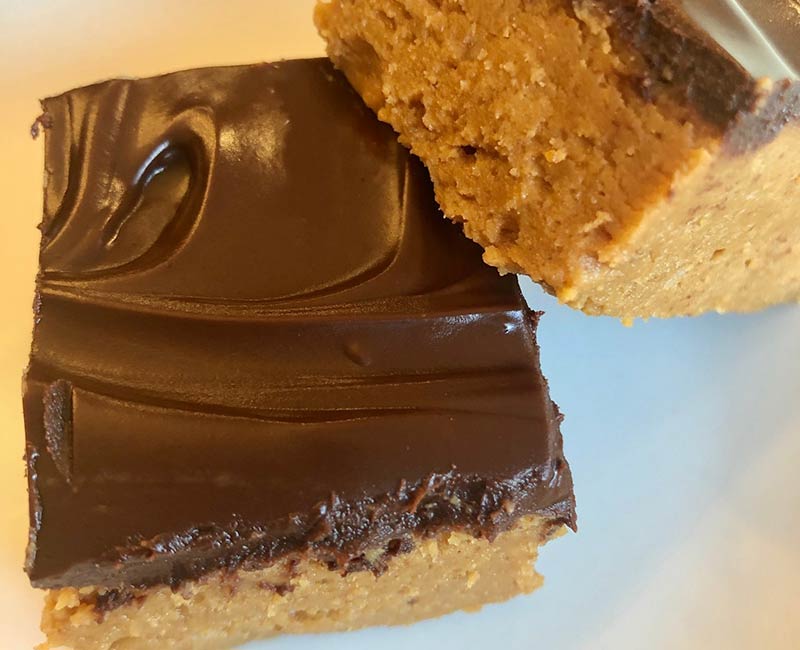
Peanut butter and chocolate are one of my favorite ever combinations. I mean, isn’t it for you too?? As a kid, one of my neighbor friend’s mom would make these exact bars…only not low carb and DEFINITELY not low sugar! They were heavenly. Truth be told, I’m not sure I could handle them now the way I did back then. When you cut sugar out of your diet then it your body reacts in huge ways anytime you have it. I never thought I would say any of this!
Sugar and I used to be the best of friends! Having journeyed down the Paleo road and then finding KETO, I just can’t believe I ate it as regularly as I did. AND, I can’t believe I don’t miss it! Recipes like this make it easier during times like holidays, birthdays, etc. so that you don’t feel like your missing out; or if you just have that occasional craving.
If you are interested in learning more about KETO, please go check out my 8 Week KETO for Women program (found under the “shop tab on my site!) (complete with meal plans, all the guidance necessary to understand keto and how to transition into it smoothly!). This can be purchased with coaching or without if you prefer a self-guided approach.
Recipe adapted from www.alldayidreamaboutfood.com <3
Ingredients
Scale
Peanut Butter Layer
¾ cup Butter, melted
¾ cup Peanut Butter, melted
½ cup Powdered Erythritol (Swerve): I’ve found this at Natural Grocers, Market of Choice, Whole Foods
¼ tsp Stevia, liquid *optional for added sweetness
1 tsp Vanilla Extract
2 cups Peanut Butter Powder (PB2 or something like this)
Chocolate Glaze
3 oz Dark Chocolate (I use Lily’s Chocolate; it’s sweetened with stevia)
2 tbsp Butter
Instructions
Line an 8×8 or 9×9 pan with parchment paper.
In a large bowl, combine melted butter, melted peanut butter, sweetener, vanilla and stevia (if using). Stir in peanut butter (it will be dough-like).
Press dough evenly into lined baking dish.
Melt chocolate and butter together either in a glass dish in the microwave in 30 second increments, stirring in between. OR on low in a small pan.
Pour melted chocolate over peanut butter dough and spread evenly then refrigerate until set (about an hour).
Cut into about 16 pieces, depending on what size you prefer. I like to keep some of these in the fridge and the rest in the freezer so they don’t disappear to fast! 😉
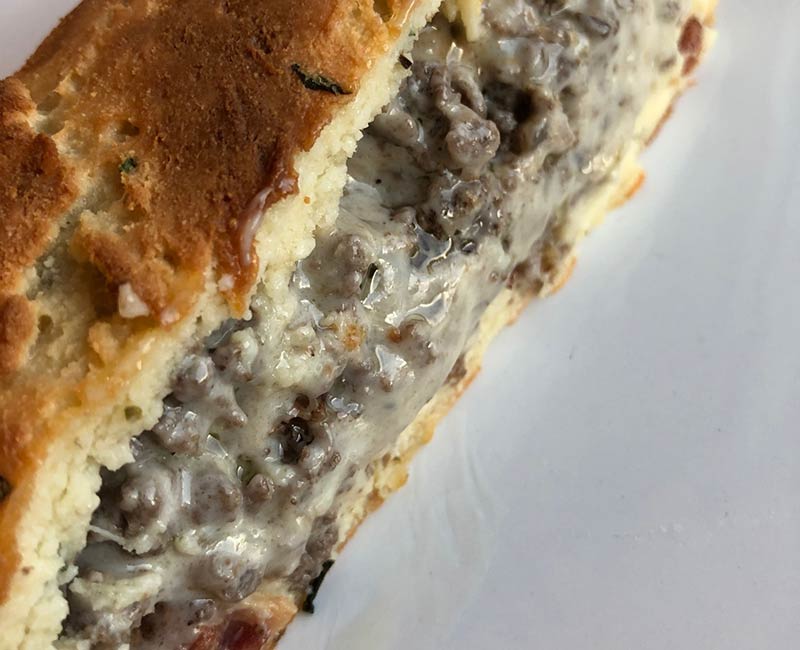
Cheesy goodness right here! This is the best low carb, gluten free comfort food! Obviously, you can use the “crust” and change up the filling to make whatever kind of calzone you would like. I actually made extra crust dough and made little biscuits out of the rest for snacks or as part of another meal. They are delicious warm with butter.
This also works perfectly as just a pizza crust. There are so many different low carb (keto) pizza crust recipes and I will say this is by far my favorite that I’ve made so far, and I have made MANY! You can also easily switch up the herbs and spices and create your own special flavor. I love Trader Joe’s “Everything but the Bagel” seasoning on things like this!
Ingredients
Scale
Crust
4 cups Mozzarella Cheese, shredded
4 oz Cream Cheese
1 cup Coconut Flour
½ tsp Dried Oregano
½ tsp Dried Basil
¼ tsp Dried Parsley
¼ tsp Onion Powder
½ tsp Garlic Powder
½ tsp Salt
4 Eggs, beaten
Filling
6 Slices Bacon
1.50 lbs Grass Fed Ground Beef
½ tsp Onion Powder
½ tsp Garlic Salt
½ tsp Italian Seasoning
¼ tsp Pepper
6 oz Cream Cheese
¼ cup Ketchup, no sugar added
2 cups Mozzarella Cheese, shredded
Instructions
Preheat oven to 425F.
In a medium sized glass bowl, add the mozzarella and cream cheese. Microwave for 2 minutes, stirring intermittently. It should be soft and combined well when it’s done, no un-melted cheese.
Whisk the flour and dried seasonings together in another bowl. Add the beaten eggs and combine well.
Add the egg/flour mixture to the cheese mixture and mix well. It is best to wash your hands, roll your sleeves up and dig in so that you can incorporate everything well without struggling to stir the dough.
Spread the dough onto a piece of parchment paper. Place another piece of parchment paper over it and roll the dough out with a rolling pin. Roll it out to your desired thickness.
Transfer to a cookie sheet lined with a fresh piece of parchment paper.
Filling
Cook the bacon and then crumble once cooled.
Cook the ground beef until browned.
Add all the rest of the ingredients to the meat (including the bacon) and cook until the cheese is completely melted and mixed into the meat.
Place the meat and cheese mixture down the center of the pizza dough. Wet your hands to keep the dough from sticking to them and lift one side of the dough up and fold it over until you can seal the dough together in a half circle.
Press the edges of the dough together with your fingers until it is sealed well.
Bake for 20 minutes until golden brown.
Let cool about 10 minutes before slicing and serving. Enjoy!
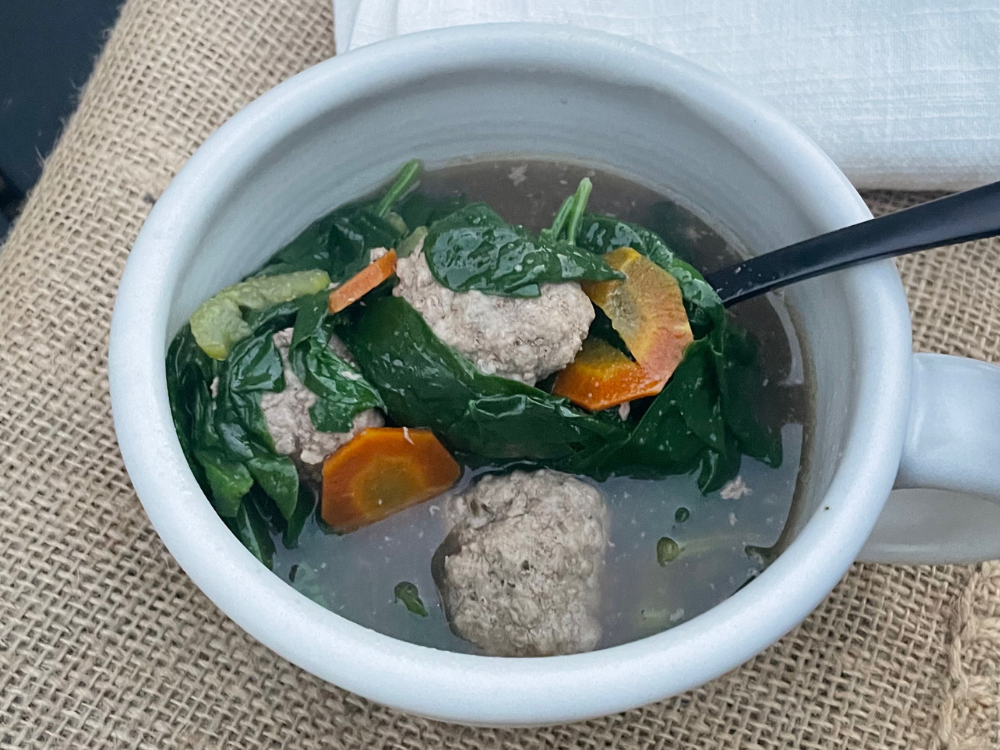
I love how good bone broth is for you; however, I don’t love to just sip on it like some people do. Instead, I make soups, stews and chili with it! This Italian Wedding Soup recipe is not only low carb/keto it’s delicious and truly good for you!
Ingredients
Scale
Meatballs
1 lb. ground turkey or beef (pasture raised)
1 large egg
1 tsp. onion powder
1 tsp. garlic powder
1/2 tsp. dried basil (I used one drop of basil essential oil!)
Soup
8 cups broth (I used my bone broth of course!)
1/4 cup sliced carrots
1 cup sliced celery
6 oz. bag fresh baby spinach
2 tsp. garlic powder
2 tsp. onion powder
Salt & pepper to taste after cooking
Instructions
Directions:
1) Bring the bone broth to boil in a large pot.
2) While the broth comes to a boil, mix all the meatball ingredients together (you’ll have to use your hands) and form meatballs (whatever size you prefer). I used a small cookie dough scoop, and they were perfect. Remember if they are very big they will have to cook longer.
3) When the broth starts to boil, gently add the meatballs.
4) Add the chopped vegetables (not the spinach) and spices. Simmer until everything is cooked through (about 20-30 minutes). The meatballs should be at least 165 F. and the carrots should be soft.)
5) When everything is done cooking, add the spinach and gently stir. Let the soup boil for another 1-2 more minutes until the spinach is “wilty”.


Recent Comments